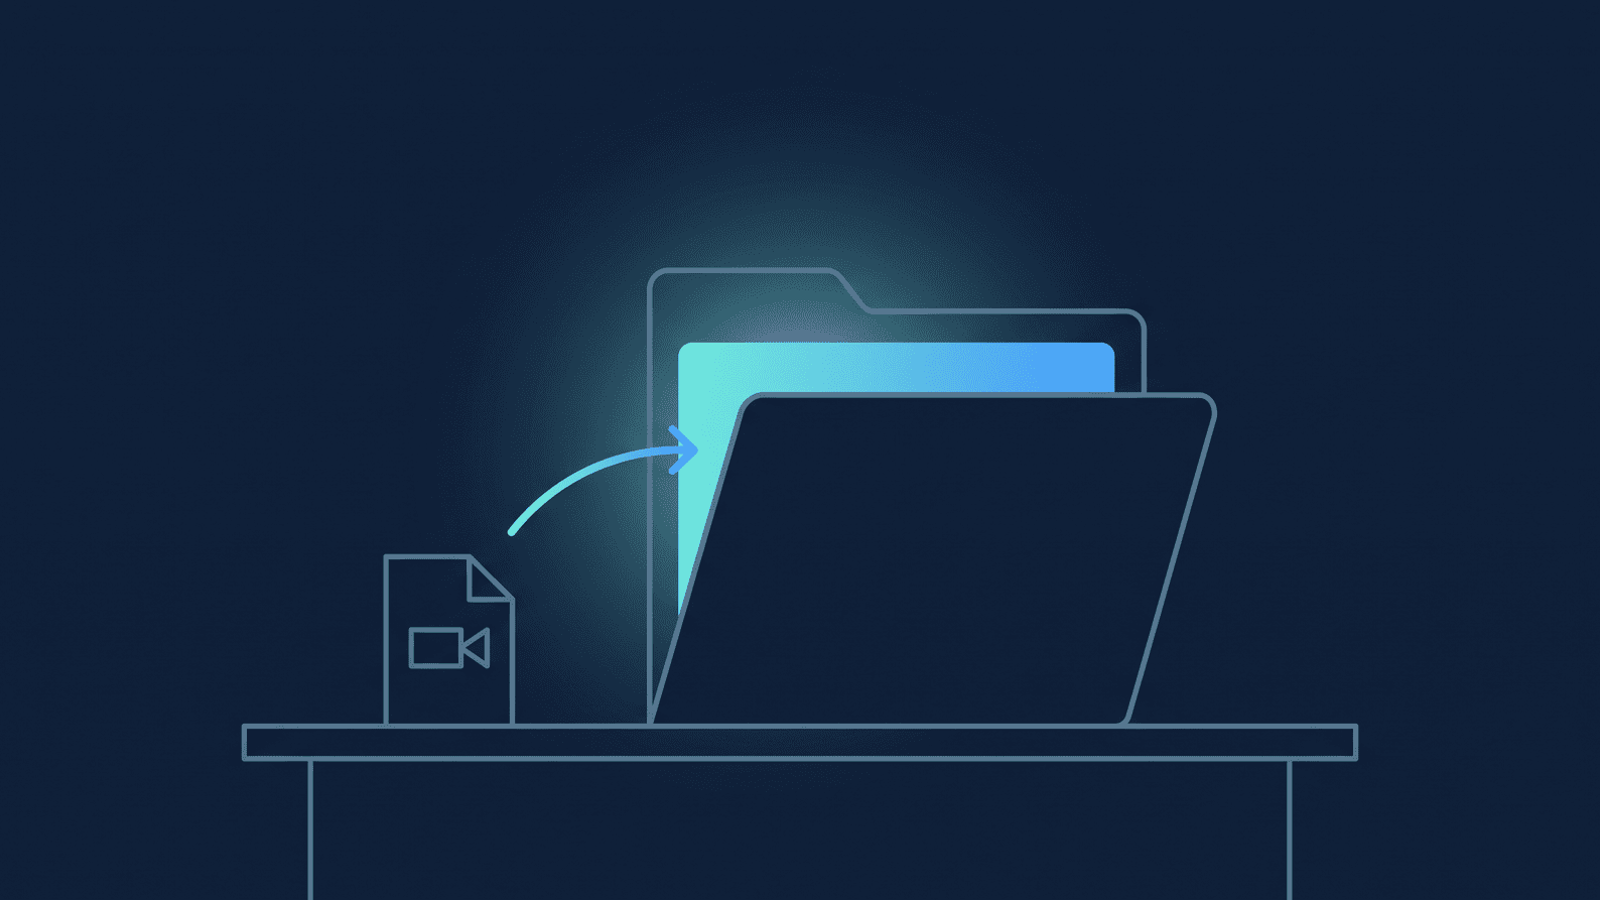
If your team runs on Dropbox instead of Google Workspace or Microsoft 365, every Zoom recording is still stuck in Zoom's own storage — racing the same quota as everyone else's, in a cloud you didn't choose. Dropbox does have its own Zoom connection, tucked away in Settings → Connected apps. It's easy to miss, and even once it's on, it only ever reaches forward.
RecordFlow's Dropbox destination is now generally available — no waitlist, nothing to request.
What's actually happening
Dropbox's own "Copy Zoom cloud recordings to Dropbox" feature — documented on Dropbox's help site — watches for new cloud recordings and copies them into your Dropbox once you turn it on in Connected apps. Three things about it matter more than whether it's switched on:
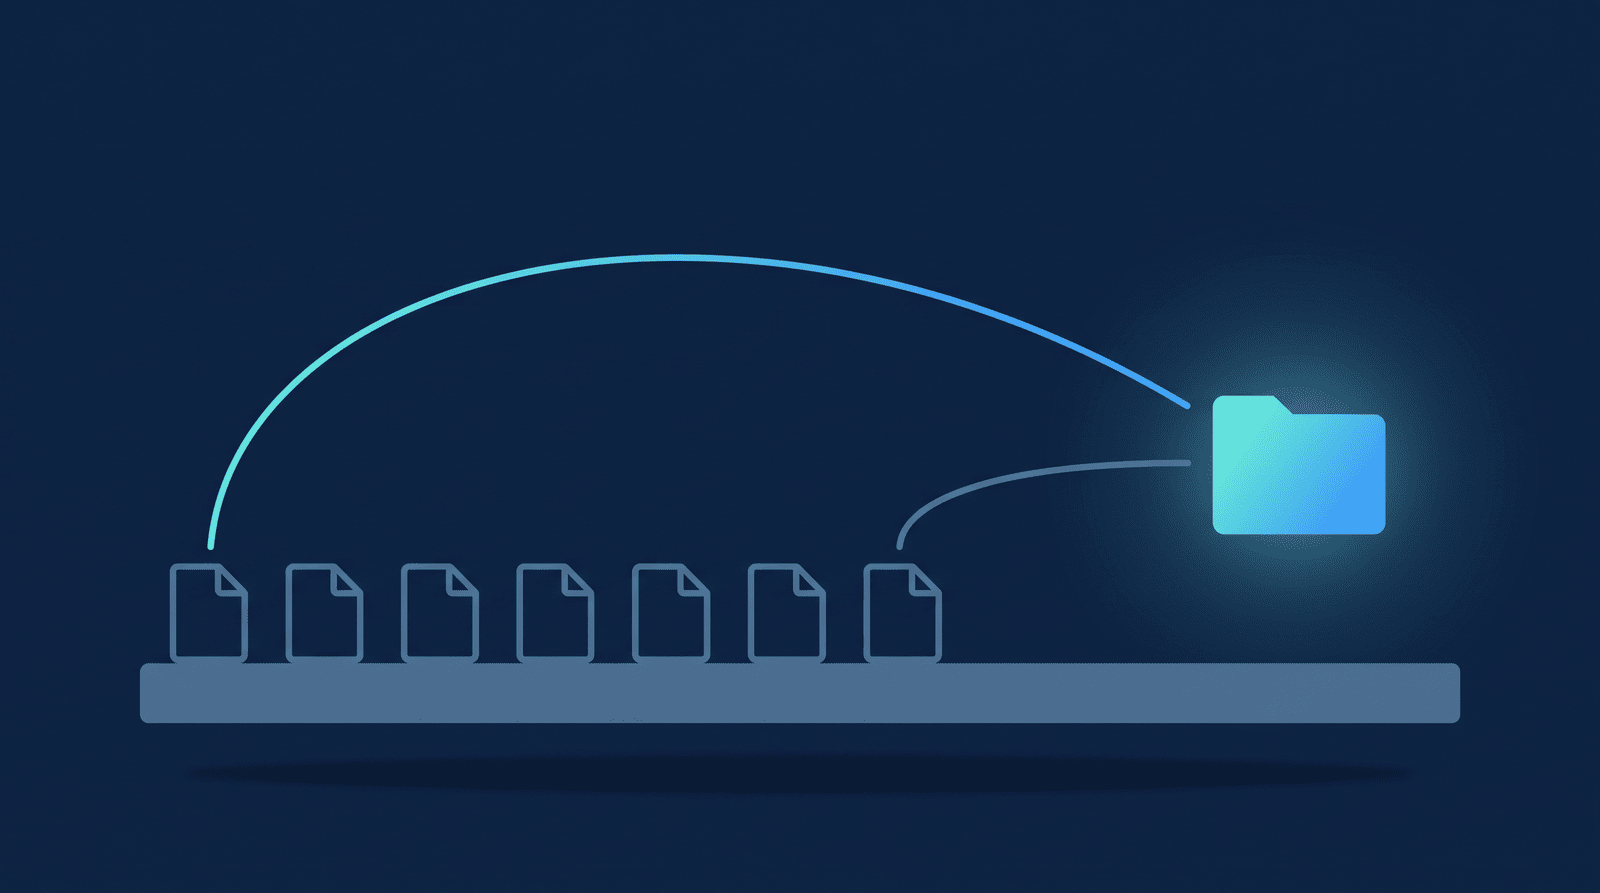
- It's go-forward only. It starts catching recordings from the moment you enable it. Anything already sitting in your Zoom cloud storage — a year of client calls, a semester of class recordings — stays exactly where it is.
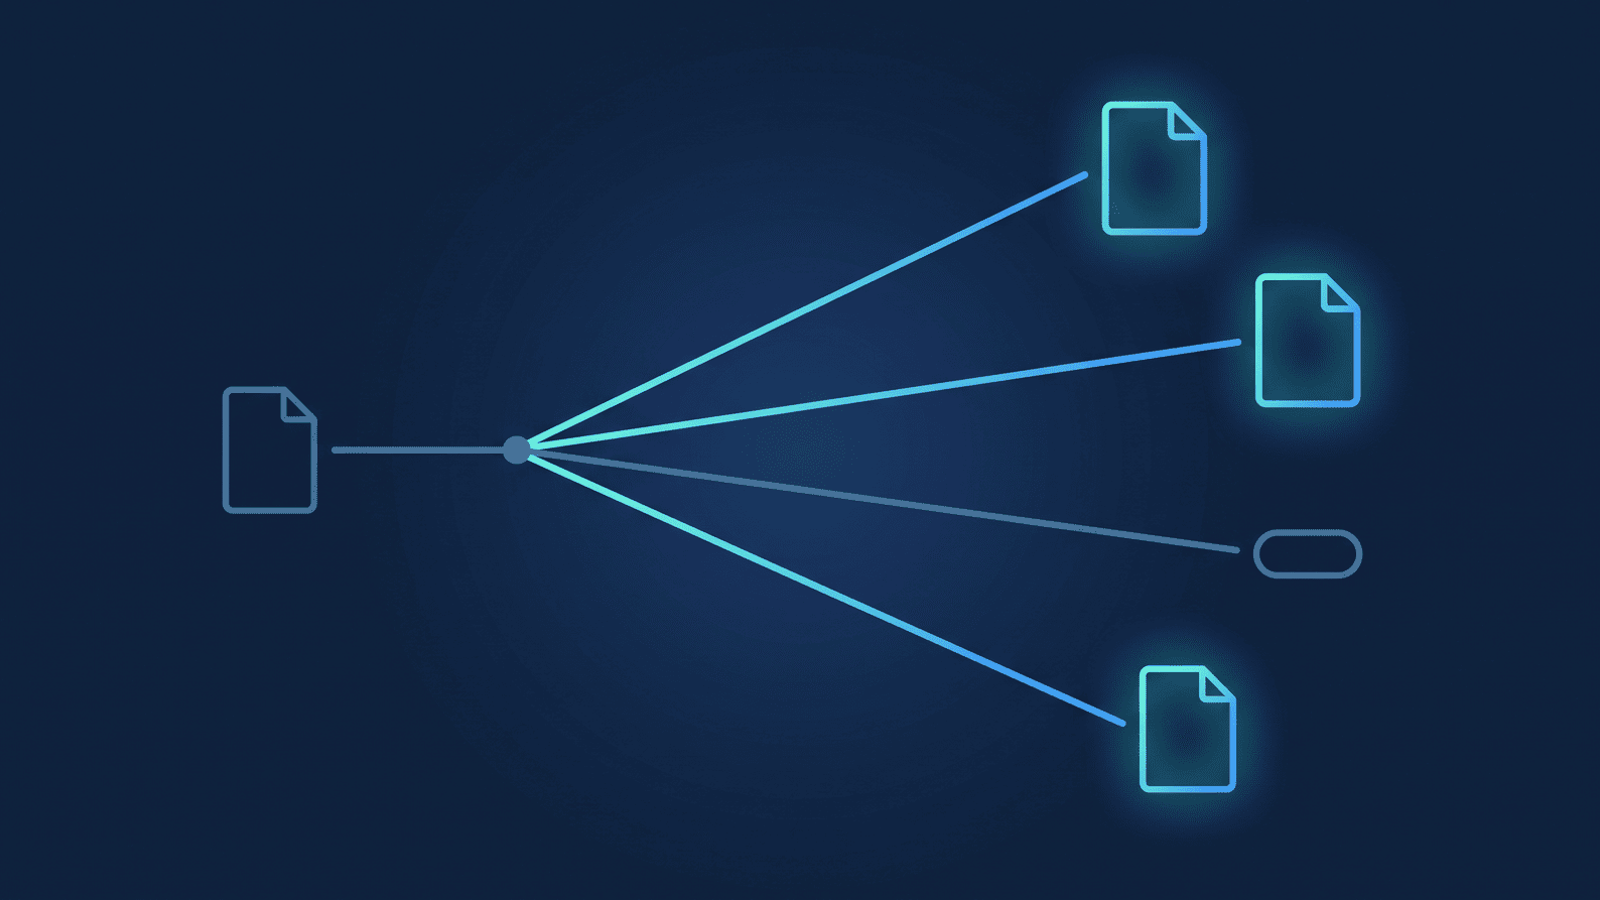
- It's all-or-nothing. There's no way to pick which recordings come over or route different meeting types to different folders; every cloud recording either gets copied or none do.
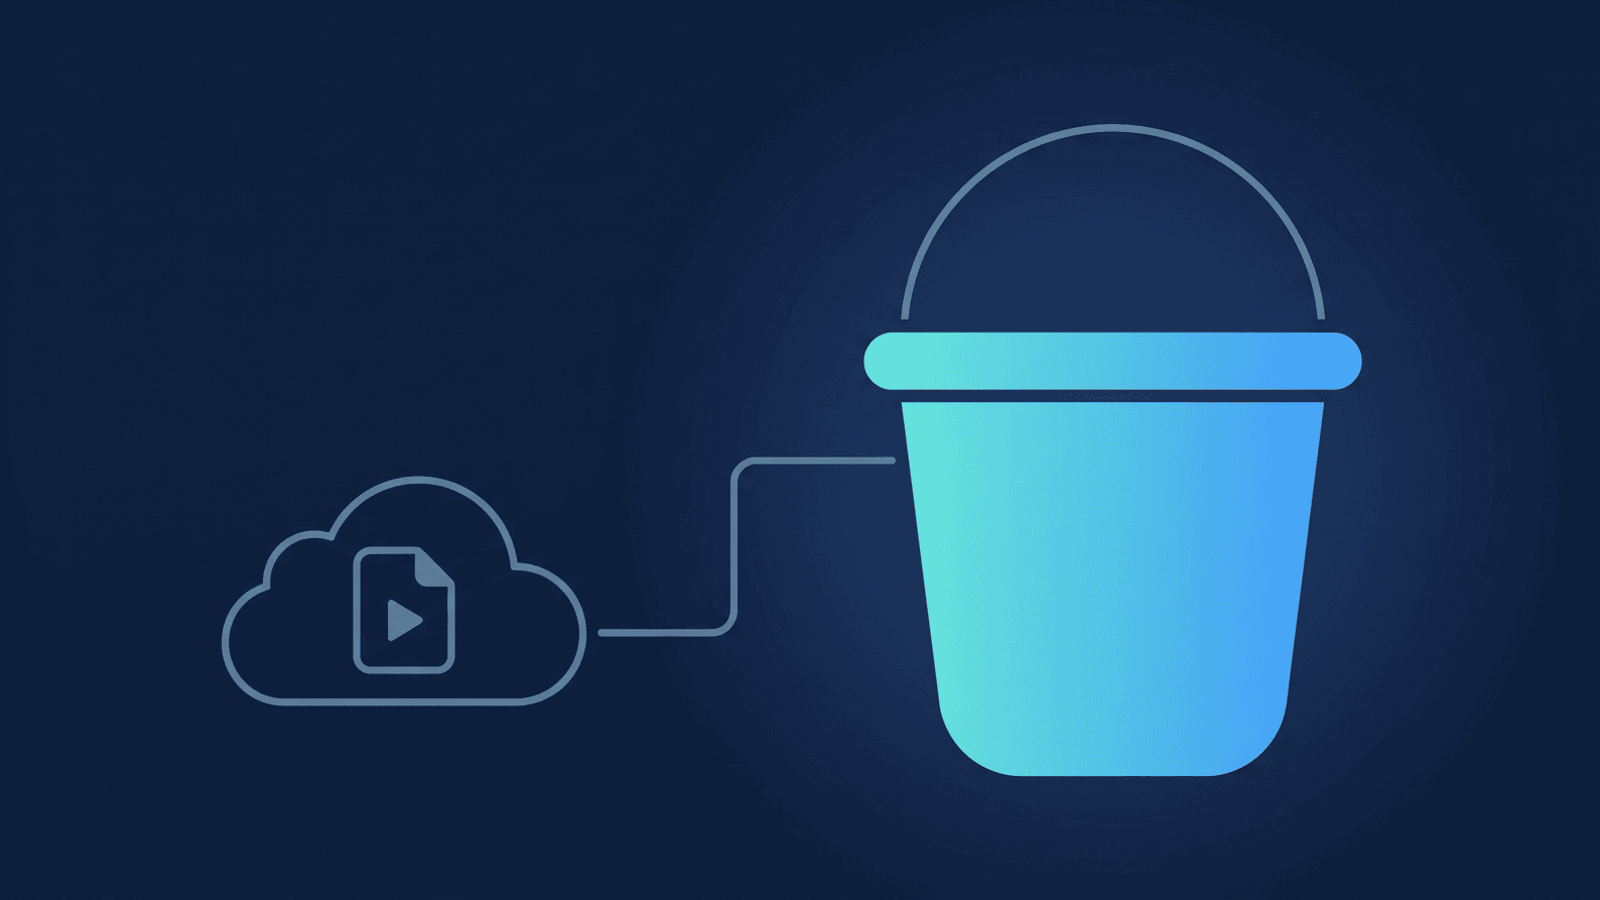
- It doesn't free Zoom's storage. The recording gets copied to Dropbox, but the original stays in Zoom's cloud, still counted against your plan's quota. Copying to Dropbox doesn't buy you back any Zoom storage on its own.
Its exact status has flip-flopped over the past couple of years, so if the built-in copy has stopped working for you at some point, you're not imagining it — but whatever its current state, none of that changes the three limits above. On Zoom's own side there's no first-party Dropbox export at all: the connection has only ever lived inside Dropbox, and Zoom's developer guidance for moving cloud recordings to third-party storage points developers at building it themselves on its API — the same path RecordFlow takes.
For a Dropbox-native consultant or small team, that combination is an awkward gap: the backlog you most want protected — months or years of client sessions — is exactly what the built-in copy can't reach, and even the recordings it does catch keep taking up room in Zoom.
What you need
- A paid Zoom plan (Pro, Business, Education, or Enterprise) — cloud recording is disabled on free plans.
- Cloud recording turned on in your Zoom account settings.
- A Dropbox account, personal or a Dropbox Business member account.
- An automation that runs reliably on large recordings and password-protected calls, and can reach back into your existing backlog — RecordFlow is built for exactly this.
On Google Workspace or Microsoft 365 instead? The steps are the same, aimed at a different destination — see how to back up Zoom recordings to Google Drive or how to save Zoom recordings to OneDrive.
How to save Zoom recordings to Dropbox
- Verify cloud recording is on. In Zoom Settings → Recording, Cloud recording should be toggled on. Without this, Zoom saves recordings to the local machine instead, and no cloud-based automation — RecordFlow included — can see them.
- Connect the automation to Zoom. Install RecordFlow's Zoom App from the Zoom App Marketplace — a one-click OAuth install. Zoom asks you to authorize read access to cloud recordings; you're never sharing your password.
- Connect Dropbox. Sign in with your Dropbox account and grant access. RecordFlow requests Dropbox's app-folder scope, which creates one dedicated folder —
Apps/RecordFlow— inside your Dropbox. There's no folder picker because the permission itself fixes the destination: RecordFlow can read and write inside that one folder and genuinely cannot see or touch anything else in your Dropbox. - Record your next meeting to the cloud. Once Zoom finishes processing the recording — a few minutes for a typical one-hour call, longer for multi-hour sessions — RecordFlow copies the video, the audio-only file, any transcript, and the chat log Zoom generated into your
Apps/RecordFlowfolder, organized by year and meeting. If Zoom generated a transcript, RecordFlow also renders it as a formatted Word (.docx) document, with speaker labels and timestamps, dropped in alongside the recording.
Already have months or years of recordings sitting in Zoom's cloud from before you connected anything? That's the gap Dropbox's own connected app can't close — it only ever catches what's recorded after it's turned on. RecordFlow's archive-history setting reaches back into your existing backlog too, and you decide how far. It starts at the past month, included free, so a new connection doesn't dump years of video into your Dropbox on day one. Reaching further back — 6 months, 2 years, or your full 10-year history — is a one-time paid unlock; once it's on, widening triggers a backfill of everything newly in range, streaming even large files to Dropbox in chunks so a multi-year backlog moves as reliably as a single meeting.
What to check if a recording doesn't arrive
How RecordFlow fits
RecordFlow closes both gaps Dropbox's own connected app leaves open: it backs up every new recording automatically, the same way, and it can also reach backward into whatever you already have sitting in Zoom — something a go-forward-only connection was never built to do. Sign in with Zoom, connect Dropbox, done — about 60 seconds. From then on, every cloud recording lands in your Apps/RecordFlow folder within minutes of Zoom marking it ready, including passcode-protected sessions and multi-hour calls, transferred directly from Zoom to your Dropbox rather than stored on RecordFlow's servers in between, and any Zoom transcript arrives as a Word document instead of a raw .vtt file. If a transfer fails it retries automatically, and an hourly safety sweep catches anything a webhook notification missed. Once your recordings are safely archived, freeing up Zoom's storage is a separate, opt-in step you control — not something that happens as a side effect of the copy itself.
Stop watching recordings pile up in Zoom's cloud.
Install RecordFlow from the Zoom Marketplace, connect Dropbox, and every recording — new and backlogged — lands there automatically. Transcripts included, as Word documents. Setup takes about 60 seconds and it's free during beta.